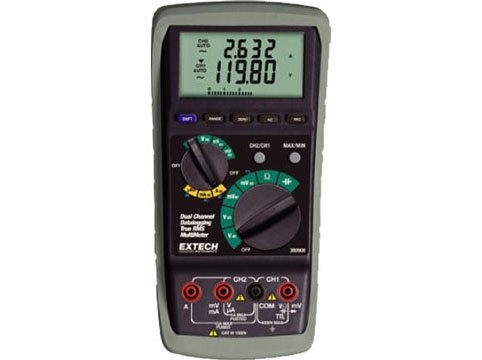
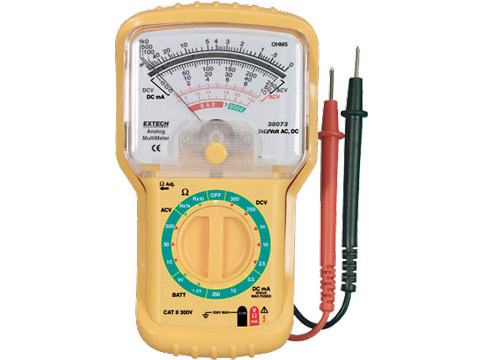
In the world of electrical work, a multimeter is a versatile tool that holds immense significance. Whether you're a seasoned electrician or a DIY enthusiast, understanding how to use a multimeter can be a game-changer.
Types of Multimeters
There are primarily two types of Multimeters: analog and digital. Analog has a needle on a scale, while digital ones provide readings on an LCD screen. Both serve the same purpose but have different ways of displaying information.
Components of a Multimeter
A typical multimeter consists of a display screen, a selector knob, and probes. The display screen shows the measurement readings, the selector knob allows you to choose the type of measurement, and the probes are used to make contact with the circuit.
Safety Measures Before Using a Multimeter
Before delving into measurements, it's crucial to ensure your multimeter is in good condition. Check for any visible damage and set to the correct range for the task at hand. This step prevents accidents and ensures accurate readings.
Basic Functions of a Multimeter
Multimeters can measure voltage, current, and resistance. These three functions cover a broad spectrum of electrical troubleshooting and are fundamental to mastering the use of a multimeter.

How to Measure Voltage with a Multimeter
To measure voltage, start by selecting the appropriate voltage range. Connect the probes to the circuit, and the display will show the voltage. It's a straightforward process but requires precision.
Measuring Current with a Multimeter
When measuring current, switch the multimeter to the current mode and connect it in series with the circuit. This allows the multimeter to measure the flow of electric current accurately.
Measuring Resistance with a Multimeter
For resistance measurements, choose the resistance range and connect the probes to the resistor or component you want to measure. The multimeter will display the resistance value.

How to Use MULTIMETER
Set the Function Dial
- Turn Off the Power: Before connecting the multimeter to any circuit, ensure that the power is turned off.
- Set the Function Dial: Choose the appropriate function on the dial for the measurement you want to take. The common settings include:
- V (Voltage): To measure voltage.
- A (Amperage): To measure current.
- Ω (Ohms): To measure resistance.
Connect the Test Leads
- Insert the Test Leads:
- For voltage and resistance measurements, insert the red lead into the "VΩ" socket and the black lead into the "COM" (common) socket.
- For current measurements, move the red lead to the "A" socket.
- Select the Range:
- If your multimeter has manual range selection, set it to a range higher than the expected value. For auto-ranging, this step is unnecessary.
Voltage Measurement
- Connect the Probes:
- Connect the red probe to the positive (+) side and the black probe to the negative (-) side.
- Make sure the probes have good contact with the points you're measuring.
- Read the Display:
- The digital display will show the voltage. If it's an auto-ranging meter, it will automatically display the appropriate range.
Current Measurement
- Break the Circuit:
- For measuring current, you often need to break the circuit and insert the multimeter in series. Follow your instructions for this.
- Connect the Probes:
- Connect the multimeter in series with the circuit. Connect the red probe to the positive side and the black probe to the negative side.
- Read the Display:
- The multimeter will display the current flowing through the circuit.
Resistance Measurement
- Disconnect the Power:
- Make sure the circuit is de-energized before measuring resistance.
- Connect the Probes:
- Connect the red probe to one end of the component, and the black probe to the other.
- Read the Display:
- The multimeter will display the resistance value. If the resistance is too high for the selected range, you may need to select a higher range manually.